
After a long time without any technical article on this blog, I finally decide to publish a new one.
I lost an incredible amount of time trying to install Oracle 11g in a virtual machine on my MacBook Pro. What I can defenitively say is DO NOT USE Parallels as virtualisation solution (there is some incredible limitations on the RAM and some bugs with certain OS) but instead use VMWare Fusion. Not only VMWare does not have all theses incredible bugs but it also performs a lot better than Parallels. The only drawback is that it’s not easy at all to resize a virtual hard drive in VMWare and you do not have the possibility to auto extend the virtual hard drive on demand.
Enough about the various solution of virtualisation and let’s drill down into our main theme.
Most of my inspiration come from the Ivan Kartik blog, when no special instruction are required I will refer to her instructions.
01. Prerequisite
- A Macintosh with an Intel processor and at least 1.5 Gb of RAM
- VMWare Fusion software installed (download it here)
- The 3 first CD of Oracle Unbreakable Linux (availabale here, be sure to download the Enterprise Linux Release 5 Media Pack for x86 (32 bit) version)
- Oracle 11g zip file (available here)
02. Prepare a VMWare Instance
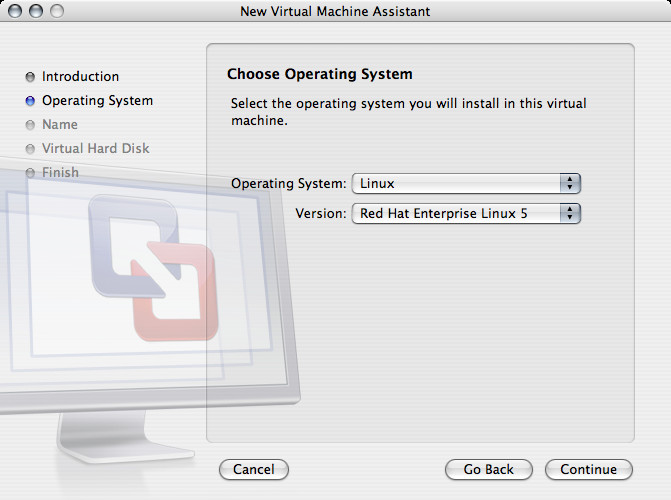
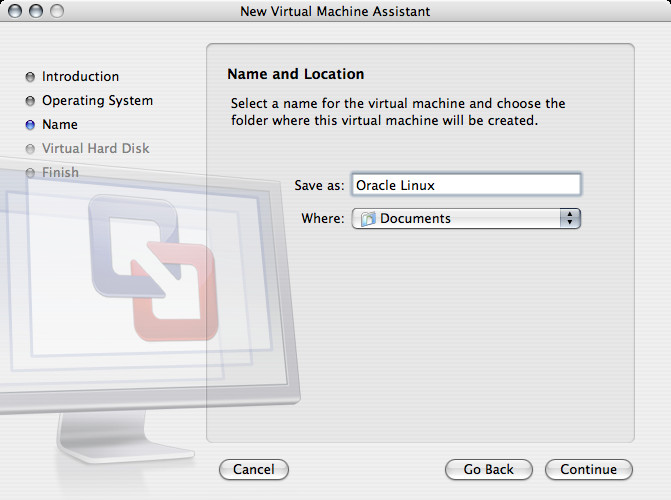
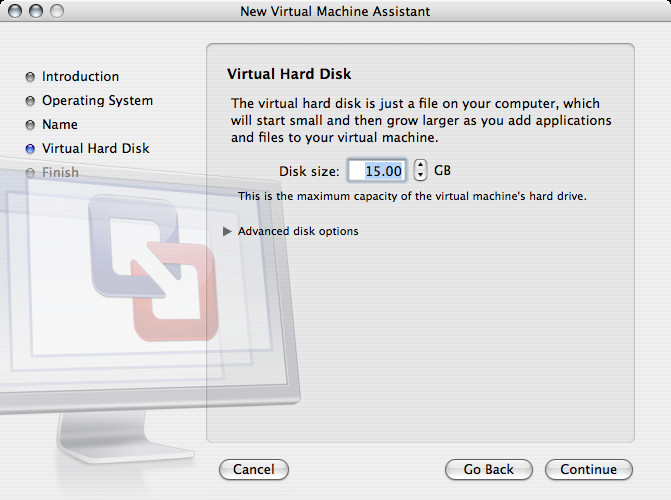
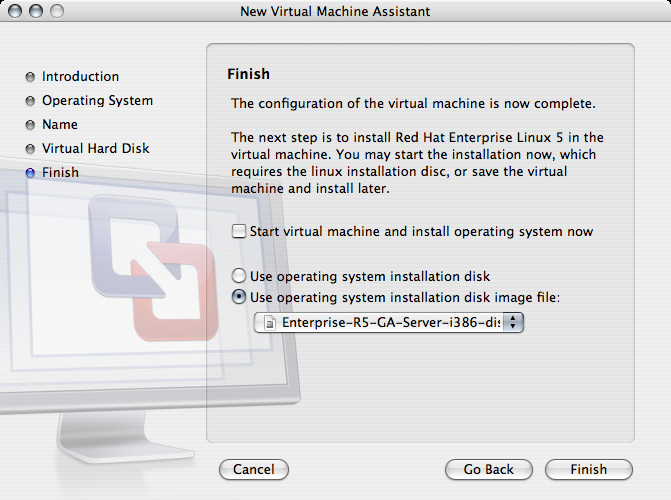
- Create a new virtual machine in VMWare with the same parameters as presented in the following screenshots.
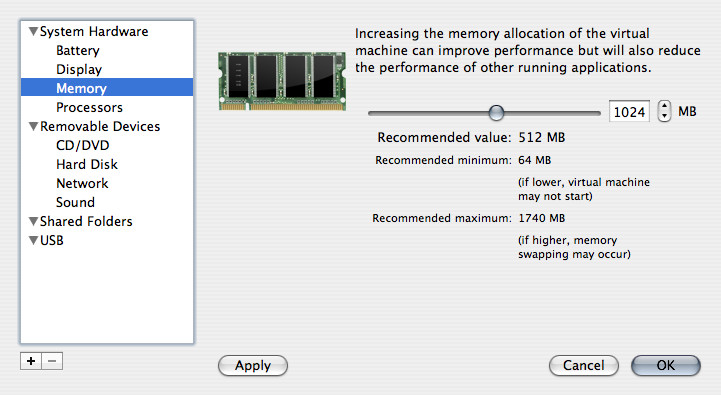
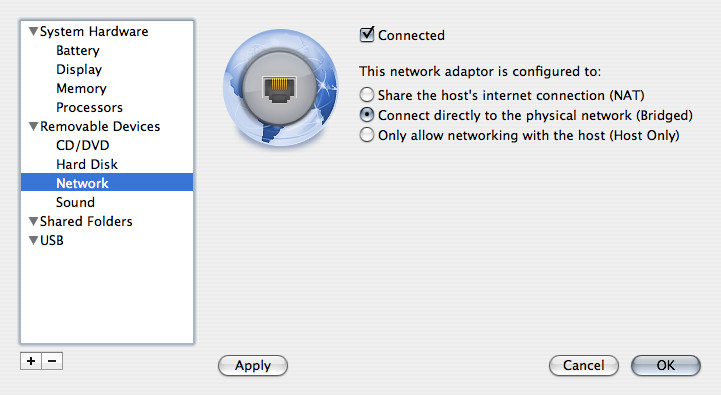
- Modify the virtual machine settings according to the following screenshots.
- Start the virtual machine.
03. Install Entreprise Linux
- Choose to install in graphic mode by hitting enter.
- Skip the CD verification.
- On each each install screen accept the proposed parameters (at the exception of course of the keyboard mapping where you’ll select the one coresponding to your keyboard).
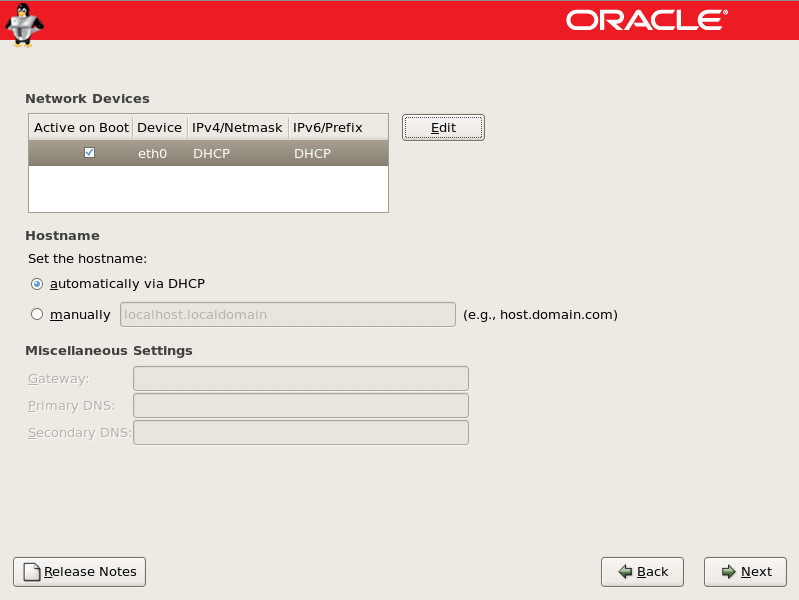
- [Update it seems that this step it not necessary in order to interface correctly the virtual machine with the Mac. Feel free to skip it.] Stop at the Newtork Devices Configuration screen. Proceed as follow:
- Click the Edit button.
- Uncheck the Use dynamic IP configuration (DHCP) checkbox.
- Check the Enable IPv4 support checkbox.
- Uncheck the Enable IPv6 support checkbox.
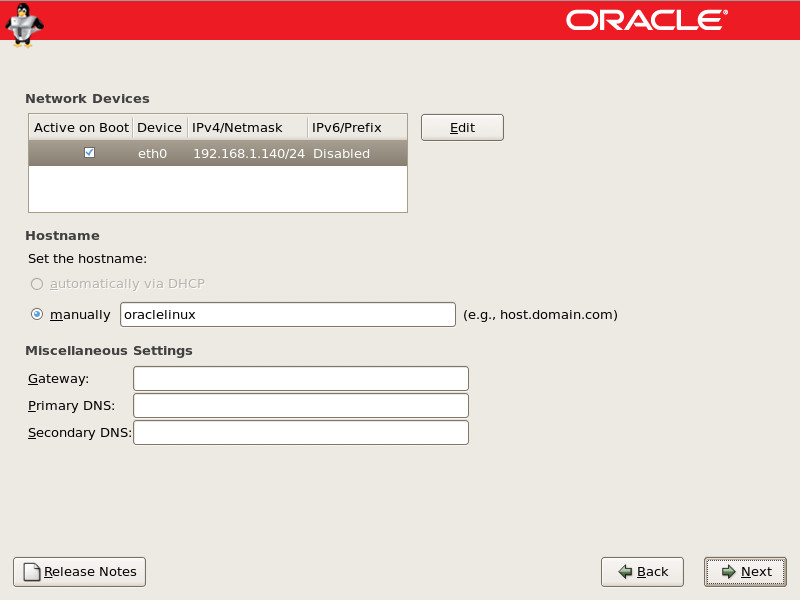
- Enter in the Address field an meanigful address (free and reachable from your domain).
- Fill Prefix (Netmask) field with the sub-domain.
- Give a meaningful hostname to your installation.
- Stop at the following installation screen and choose Customize now.
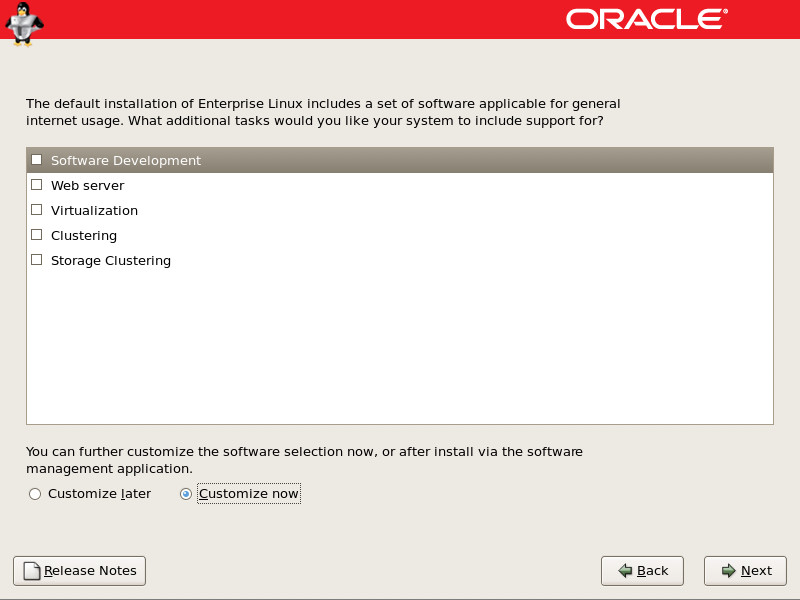
- In the next screen select the following packages by clicking the Optional packages button. Proceed according to the following rule: if you have to check a whole new set then check only the indicated package(s) and uncheck the others, if the set is already checked then just check the additional package(s) (such that the others are kept their previous state):
- elfutils – 0-125-3.el5.i386 in Development, Development Tools
- unixODBC – 2.2.11-7.1.i386 in Server, MySQL Database
- compat-libstdc++-33 – 3.2.3-61.i386 in Base System, Legacy Software Support
- compat-db – 4.2.52.1.i386 in Base System, Legacy Software Support
- sysstat – 7.0.0-3.el5.i386 in Base System, System Tools
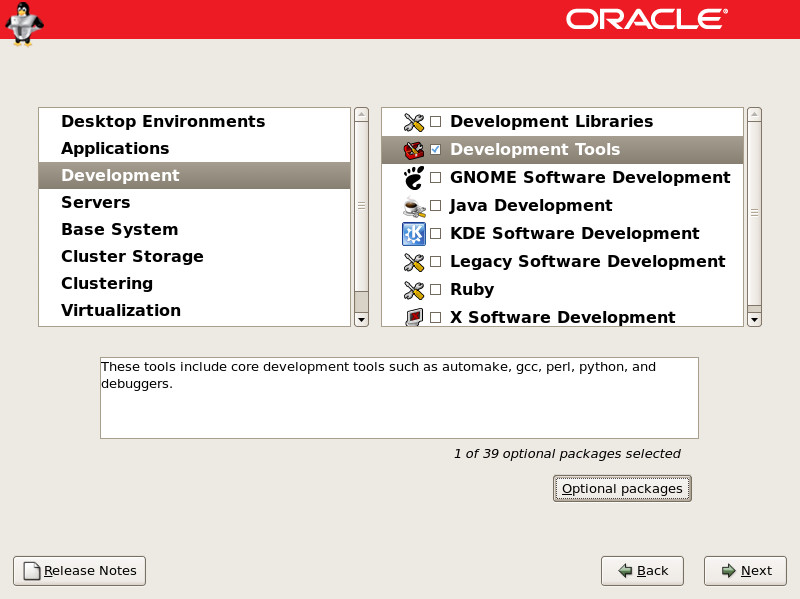
- Click af few more time Next and the installation begins. Just follow the instruction and change the CD when you’re asked to do so (by clicking on the CD icon and selecting the next .iso file).
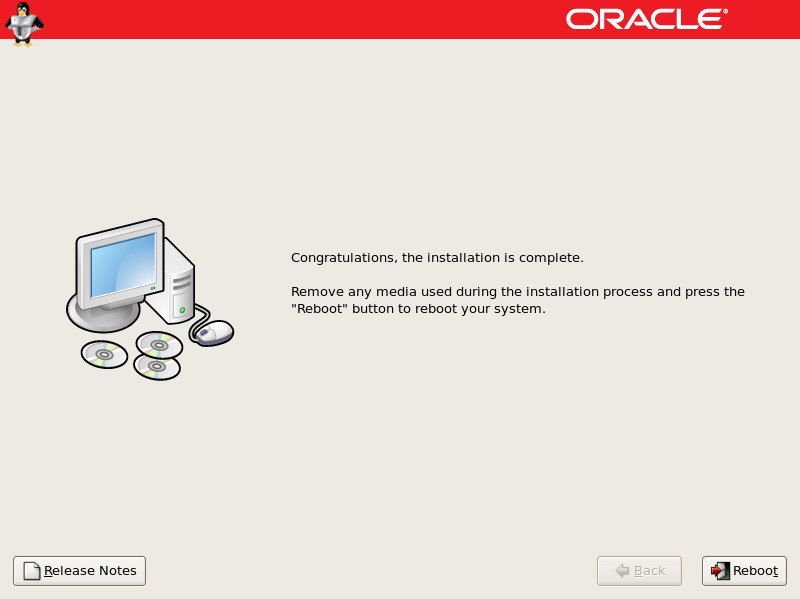
- When asked to do so reboot.
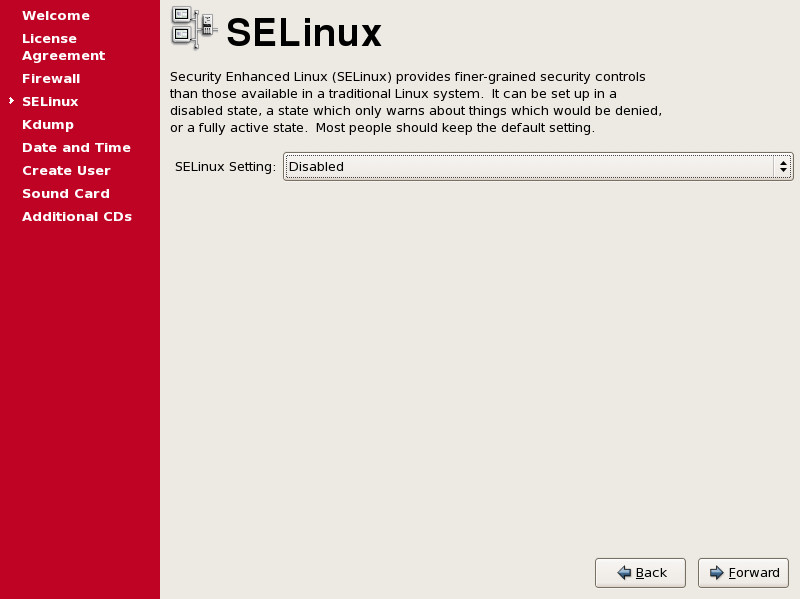
- After reboot click Forward till you reach the SELinux screen where you change the setting to disabled.
- At the Date and Time screen you can choose to synchronize your clock with an NNTP server.
- At the screen Create User do not create a new user (we will do so later) and get rid of the warning.
- Click a few more time Forward and then reboot when asked to do so.
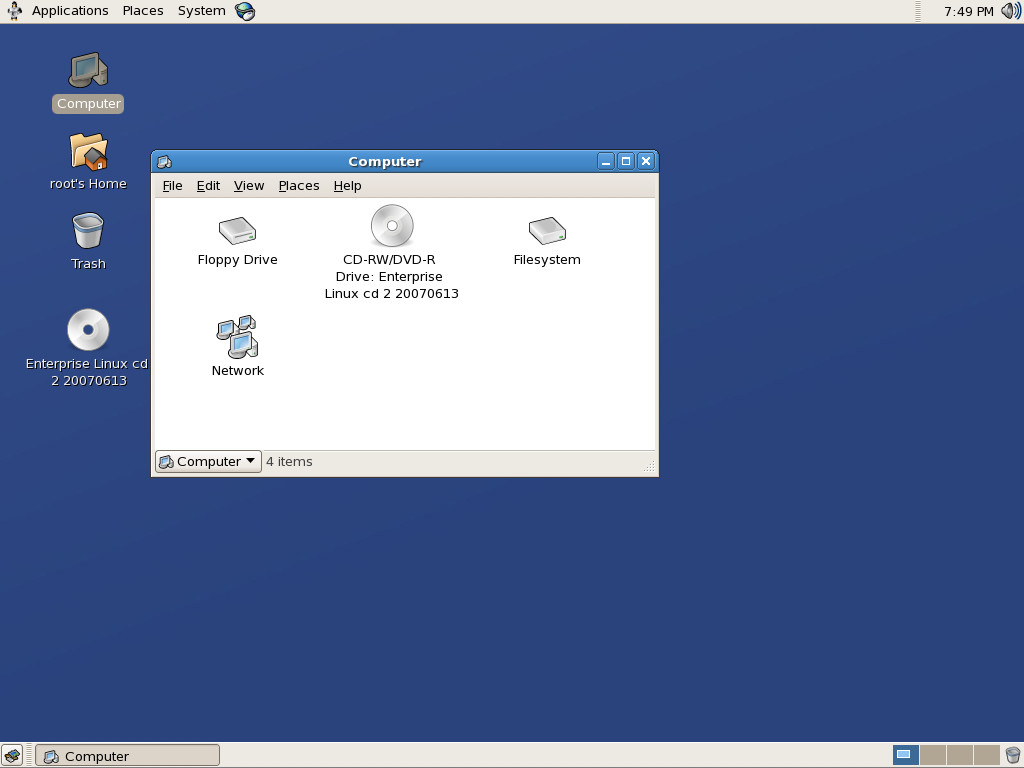
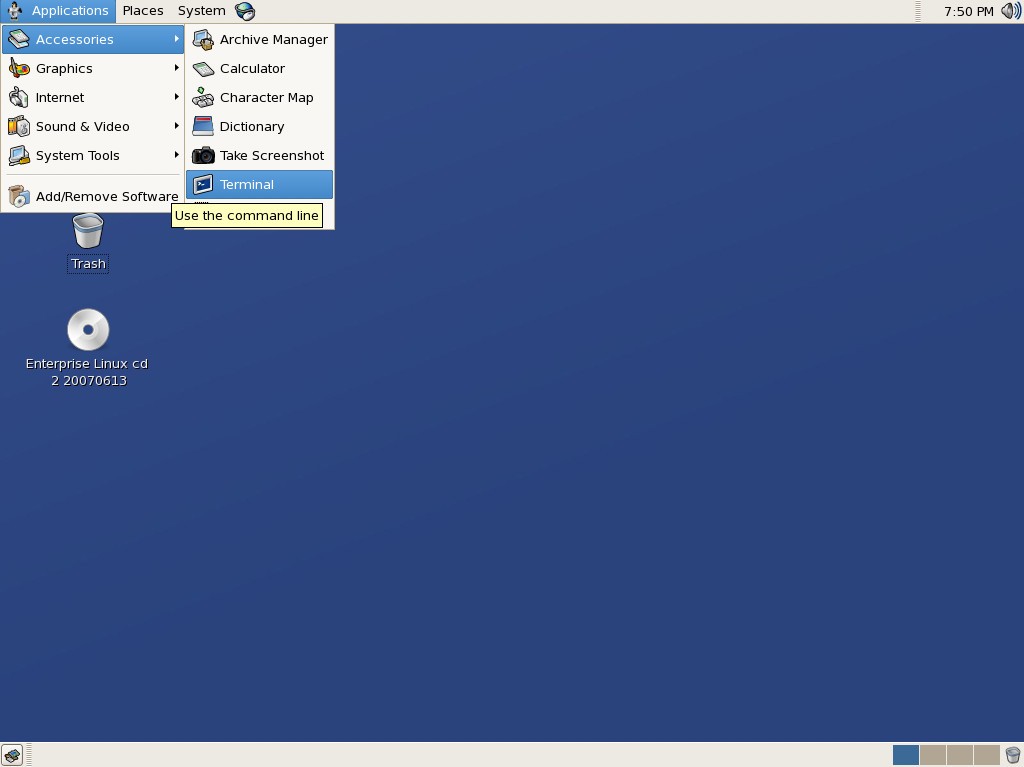
- Login as root and mount the .iso of the second CD.
- Open the Computer icon and double click the CD-RW/DVD-R Drive Icon.
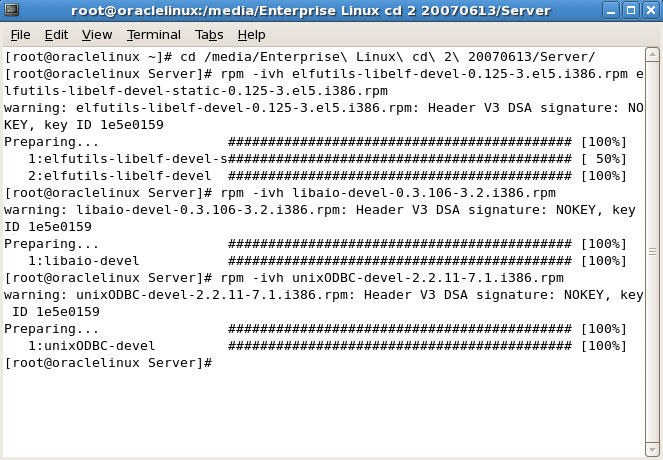
- Open the Terminal application and issue exactly the following commands:

cd /media/Enterprise\ Linux\ cd\ 2\ 20070613/Server/
rpm -ivh elfutils-libelf-devel-0.125-3.el5.i386.rpm
         elfutils-libelf-devel-static-0.125-3.el5.i386.rpm
rpm -ivh libaio-devel-0.3.106-3.2.i386.rpm
rpm -ivh unixODBC-devel-2.2.11-7.1.i386.rpm
04. Prepare the OS for database installation
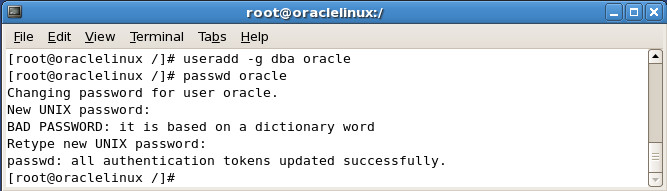
- From this point you can follow the instruction of Ivan till Download & Install section at the exception of the first point that should be.
groupadd dba
useradd -g dba oracle
passwd oracle
- When Ivan employ the term Edit, I personally recommend you to use the nano editor. With that in mind the point 2 will look like the following.
 The parameter kernel.shmmax and kernel.shmmni are already present in the file then just update them.
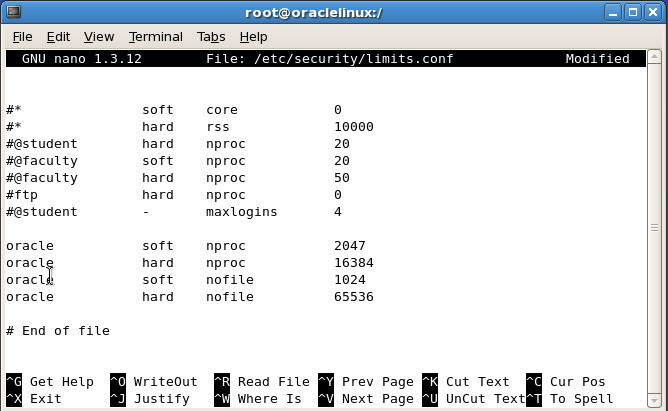
05. Install Oracle 11g Entreprise Edition
- Reboot the virtual machine an login as oracle user.
- Drag and drop the oracle 11g database zip file to the virtual machine desktop.
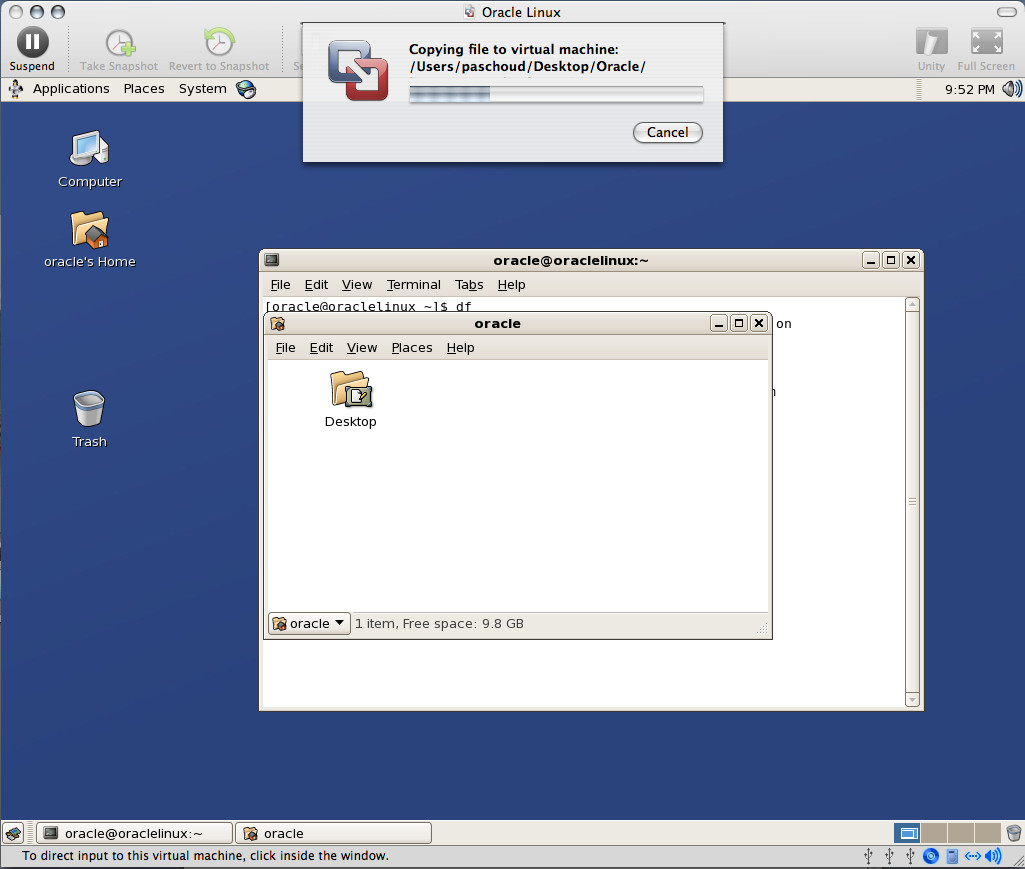
- Issue the following commands in the terminal:
cd /home/oracle/Desktop
unzip linux_11gR1_database.zip
cd databse
./runInstaller
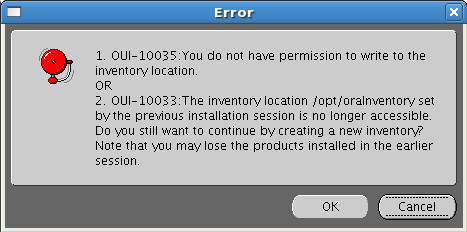
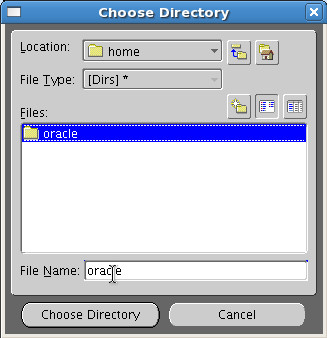
- When you get the following error message correct the path where you want to save the oraInventory directory. I choose /home/oracle
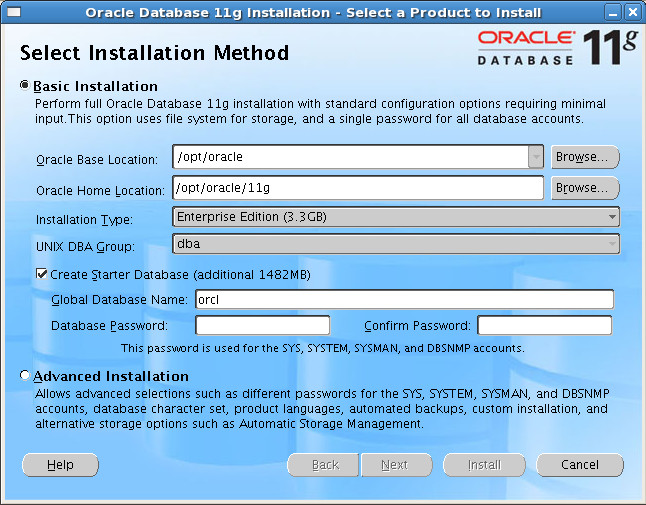
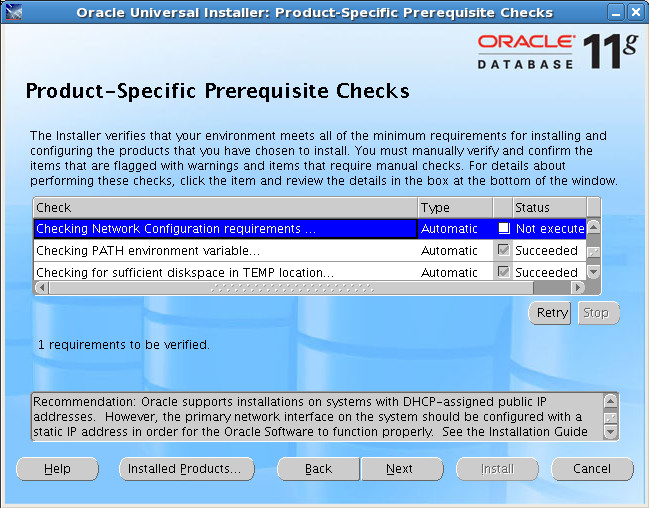
- When you reach the Product – Specific Prerequisite Cheks you should only have the network configuration check that do not execute. Check it by hand and then click Next.
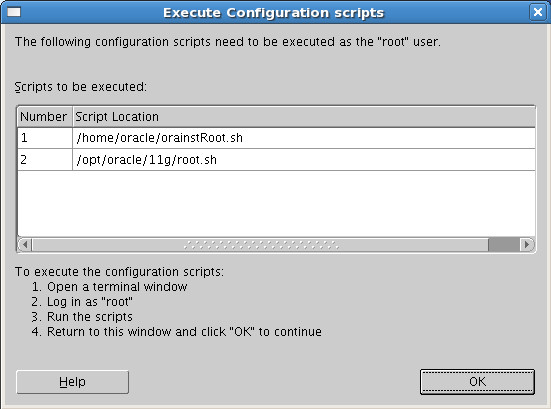
- Now the installation really begin. It can be a bit long but at the end a you will get a window that ask you to run two scripts in root mode.
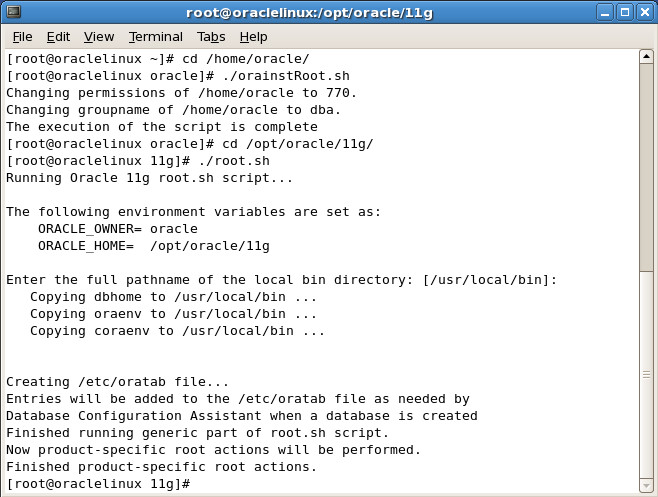
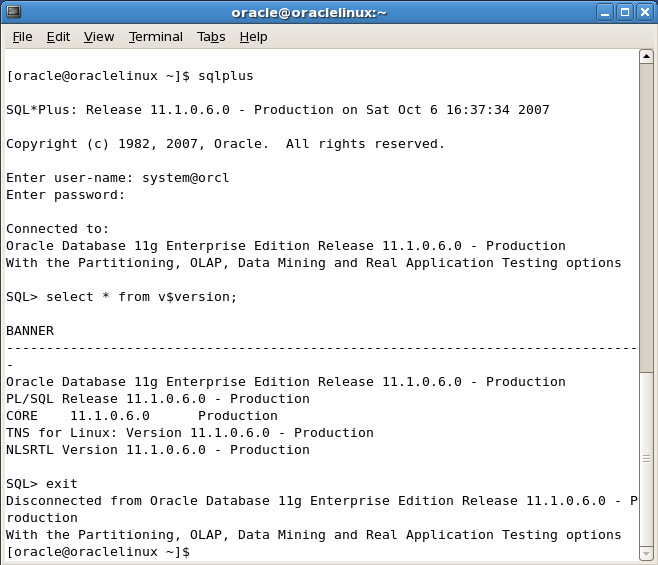
- Enjoy, you can finally use your 11g database.
06. Further work
You can add some spit and polish to you installation by following the instruction from Ivan in her section called Post-Installation Tasks.
In a next article I’ll show you how you can configure your virtual machine such that you can acces the database from the Mac side. That is you can hide your virtual machine and use your favorite Mac tools to connect to your database as if it was on a server.