SQL*Plus installation

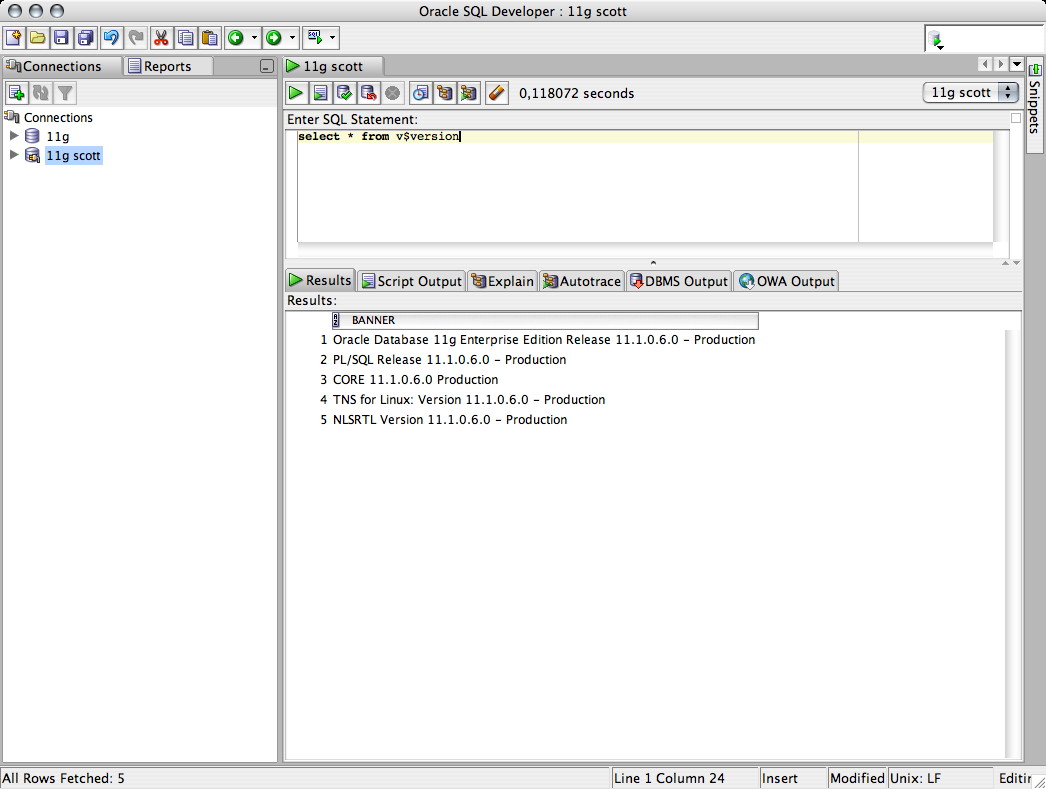
So far you’ve learned how to install an Oracle 11g Database, how to access it from your Mac with SQLDeveloper and now the last missing part of the puzzle for a comfortable work is SQL*Plus. It’s not the sexiest tool of Oracle, but it’s the one you’ll find on every machine that is able to do some serious work. So let’s see how to install SQL*Plus on your Mac.

01. Prerequisite

Don’t be afraid if the download page says PowerPC it will also run on your brand new Intel Mac.

02. Installation

  1. Create a directory to save all the needed libraries and programs. I personnaly chose to create this directory in /usr/local/bin.
    sudo mkdir /usr/local/bin/oracle
  2. Change the owner of the newly created user to your current user.
    sudo chown your_user /usr/local/bin/oracle
  3. Open the oracle directory in the finder.
    open /usr/local/bin/oracle
  4. Copy the following elements in the folder:
    • sqlplus from Instant Client Package – SQL*Plus package
    • libsqlplus.dylib from Instant Client Package – SQL*Plus package
    • libociei.dylib from Instant Client Package – Basic package
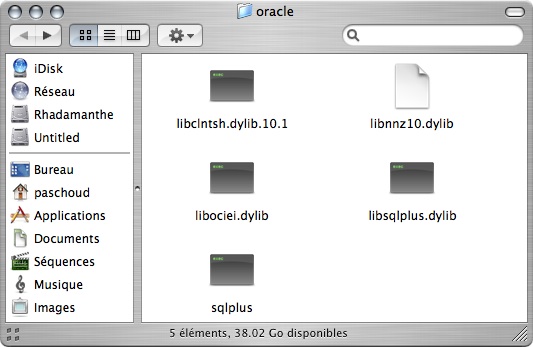
    • libclntsh.dylib.10.1 from Instant Client Package – Basic package
    • libsqlplus.dylib from Instant Client Package – Basic package
    • libnnz10.dylib from Instant Client Package – Basic package
  5. Edit you .cshrc and add the following lines:
    setenv DYLD_LIBRARY_PATH /usr/local/bin/oracle
    setenv ORACLE_HOME       /usr/local/bin/oracle
    setenv TNS_ADMIN         /usr/local/bin/oracle
    setenv PATH              /usr/local/bin/oracle:$PATH
  6. Add in the oracle directory a file tnsnames.ora with the following content where the name after the HOST = part (on the 3rd line) is the hostname of the instance running your database:
    ORCL = (DESCRIPTION =
      (ADDRESS = (PROTOCOL = TCP)(HOST = oracle)(PORT = 1521))
      (CONNECT_DATA =
        (SERVER = DEDICATED)
        (SERVICE_NAME = orcl)
      )
    )
  7. You can now open a new terminal and connect to your database instance by issuing:
    sqlplus scott@orcl

03. Nice to have

  • As you certainly knows if you use a bit the standard SQL*Plus, it’s an absoute pain that you don’t have any line editing option or any history except the last executed command. Hopefully you’re in a Unix environement and you have the utility rlwrap that does exactly what you need. Install it with fink (you first have to update your package repository in order to find the rlwarp package). Once rlwrap is installed add the following line to your .cshrc:
      alias sqlplus 'rlwrap sqlplus'

    Now you can enjoy an Unix like SQL*Plus.

  • You can save your oracle directory to be an absolute mess by moving all your scripts into another directory. I chose to create a scripts directory in my oracle directory. In order to tell SQL*Plus that you’ve such an organisation you have to add the following line to your .cshrc:
      setenv SQLPATH           /usr/local/bin/oracle/scripts
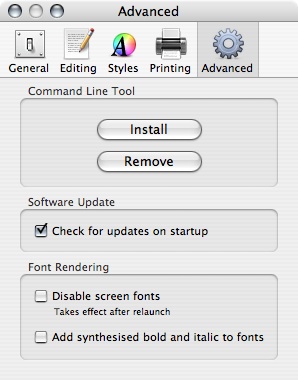
  • Last but not least, as you’re a Mac user, you would like to use the best of your platform (inst’it). That is why instead of using the ugly vi or any other Unix text editor, you can use the only good text editor that exist for Mac: SubEthaEdit. Once you installed it go into Preferences under Advanced and install the command line tool. Once done add to your login.sql and connect.sql script the following line:
      define _editor=see

Congratulations you just install SQL*Plus on the Mac. You now have a fully usable Oracle development environment with a bit of Mac taste.

Access Oracle 11g from your Mac

As promised in me precedent article, I’ll show today you how to configure your virtual machine such that you can use SQL Developer, or any other tool you like, on the Mac and still connect to you’re Oracle 11g instance.

01. Configure the Virtual Machine

  1. Shut down the operating system in your virtual machine.
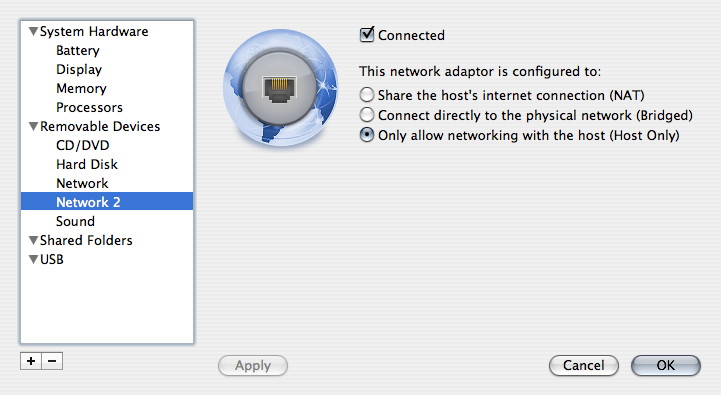
  2. Add a second nework adapter tour your virtual machine by going into Settings and then clicking on the + button and choosing Add Network…
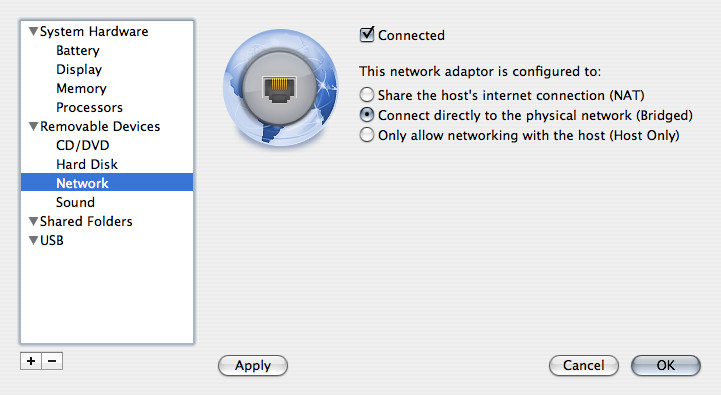
  3. Configure the second network as follow.

02. Configure your Entreprise Linux

  1. Login as root.
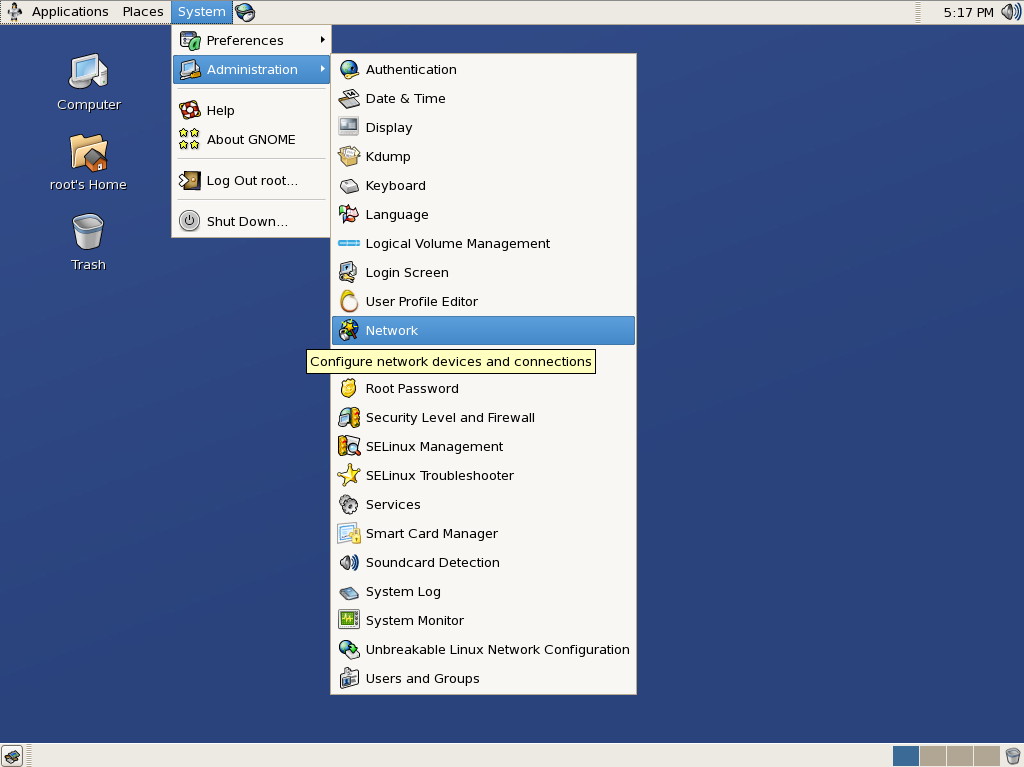
  2. Go under menu System, Administration, Network.
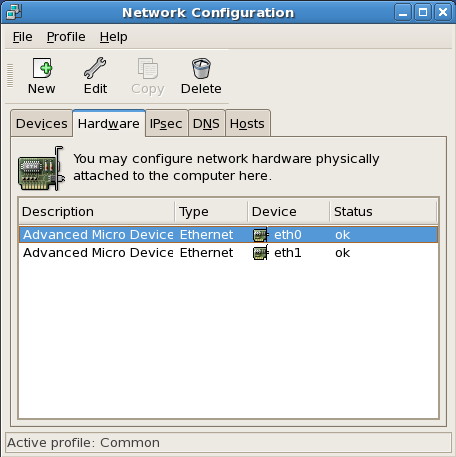
  3. Under tab Hardware select New.
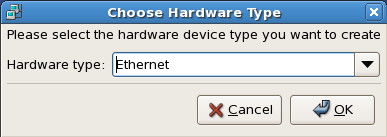
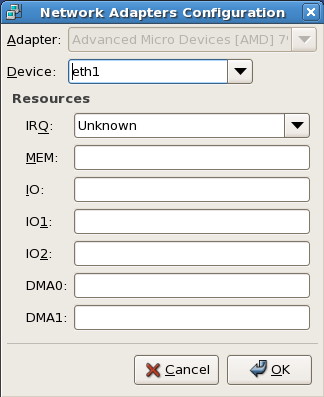
  4. In the drop down list choose Ethernet, then click OK.
  5. Configure as follow.
  6. Under tab Devices select New.
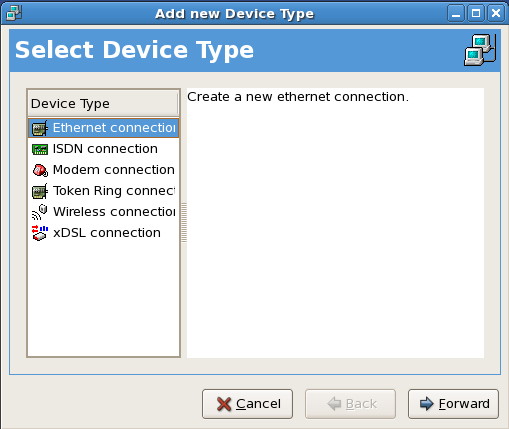
  7. In the list choose Ethernet connection and then click Forward.
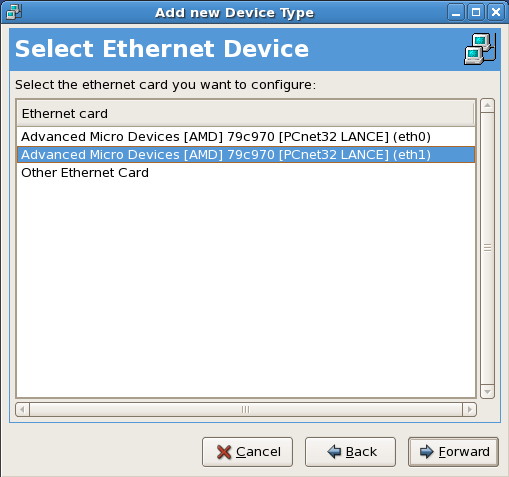
  8. Select your interface on eth1 and then click Forward.
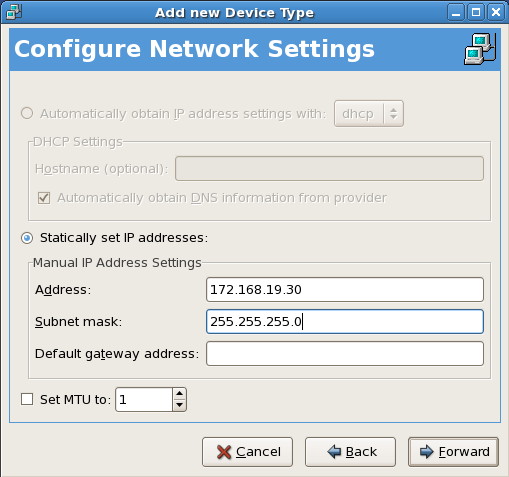
  9. Select Staticaly set IP addresses: and fill the Address and Subnet mask fields with meaningful values. [update]This meaningful address can be determined on the Mac by issuing an ifconfig in the terminal. From the output, you have to determine the two virtual interfaces used by vmware. They are normally named vmnetX, where X is a number. The trick is to discover wich one is used for the local network. I don’t know if there is an deterministic way to do that. I’ve determined it the empirical way.[/update] Finally click Apply.
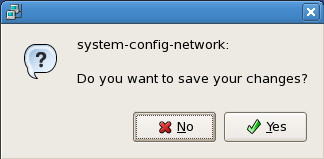
  10. Close the window Network Configuration and say Yes when you’re asked if you want to save your changes.
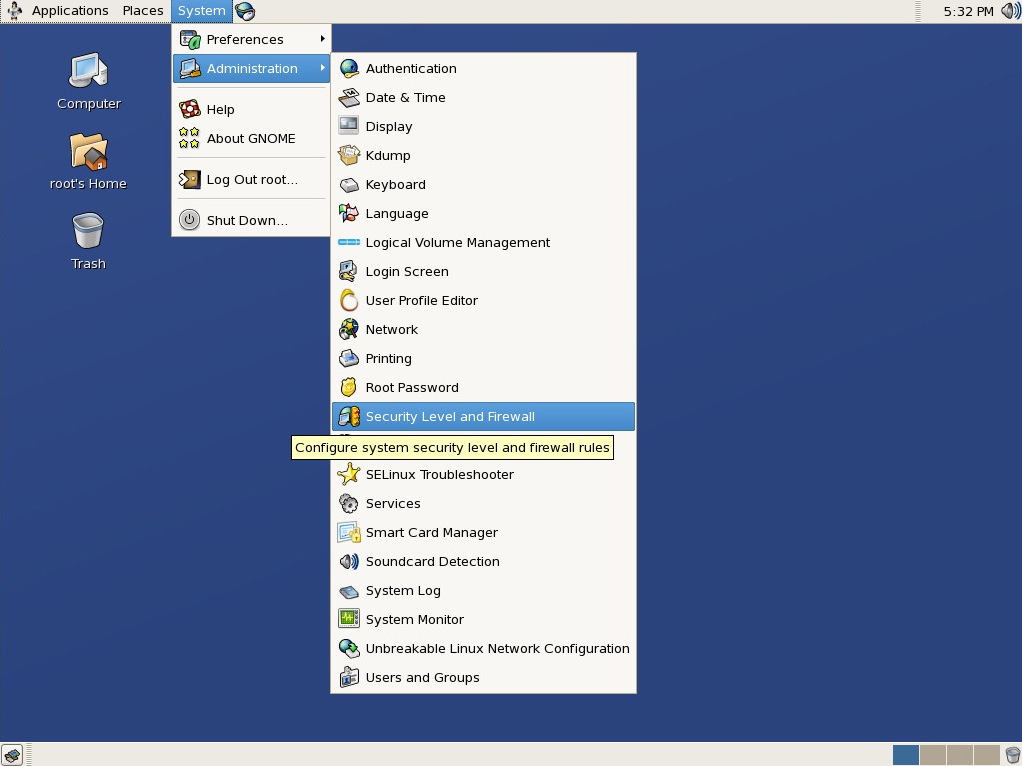
  11. Go under menu System, Administration, Security Level and Firewall.
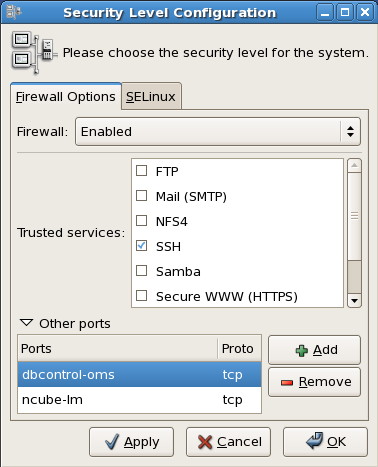
  12. Under tab Firewall Options, open the pane Other Ports and click Add.
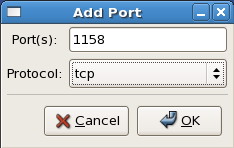
  13. In field Port(s) enter 1158 (this is for Oracle Entreprise Manager) and in the drop down list choose tcp and click OK.
  14. Do the same as in point 13 but with port number 1521 (this is for your Oracle database instance).
  15. Click Apply and then OK.
  16. Reboot your virtual machine.

03. Configure the Mac

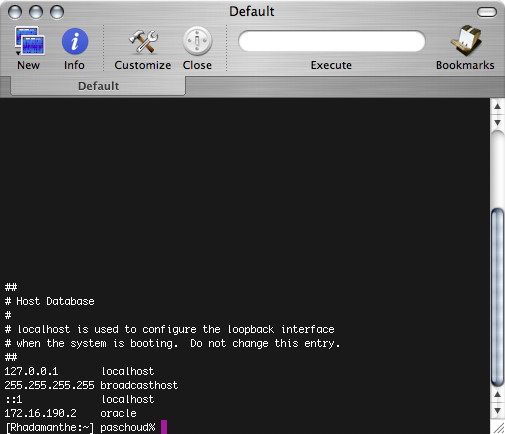
  1. Open a terminal and add append to the file /etc/hosts the following line
    172.168.19.30 oracle

    You need to be admin in order to modify this file. With this modification you now indicate to your Mac that when you enter oracle you would like to reach the IP address 172.168.19.30. Of course you have to enter the same IP address as the one you provide in point 9 from section 2.

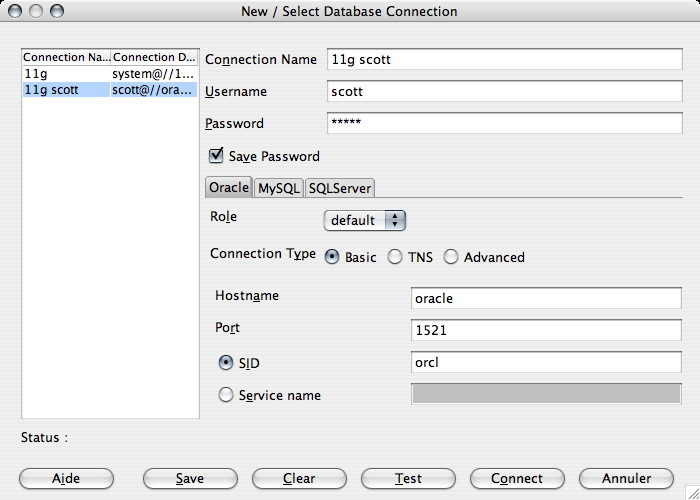
  2. Startup your SQL Developer add a new connection and enjoy.
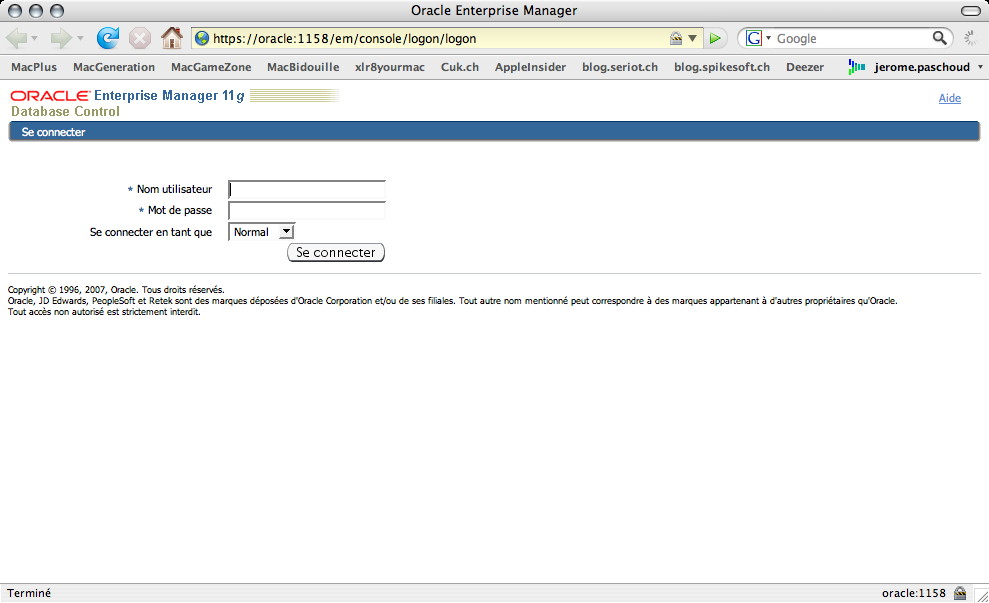
  3. If you also started the Oracle Entreprise Manager you can also reach it from the Mac.

04. Conclusion

With this serie of two articles you’re now run the latest Oracle database version available on your Mac. You can connect to your database instance even if you’re not connected to the internet and you can also reach the internet from within your virtual machine.

Install Oracle 11g Entreprise Edition on Mac

After a long time without any technical article on this blog, I finally decide to publish a new one.

I lost an incredible amount of time trying to install Oracle 11g in a virtual machine on my MacBook Pro. What I can defenitively say is DO NOT USE Parallels as virtualisation solution (there is some incredible limitations on the RAM and some bugs with certain OS) but instead use VMWare Fusion. Not only VMWare does not have all theses incredible bugs but it also performs a lot better than Parallels. The only drawback is that it’s not easy at all to resize a virtual hard drive in VMWare and you do not have the possibility to auto extend the virtual hard drive on demand.

Enough about the various solution of virtualisation and let’s drill down into our main theme.

Most of my inspiration come from the Ivan Kartik blog, when no special instruction are required I will refer to her instructions.

01. Prerequisite

  • A Macintosh with an Intel processor and at least 1.5 Gb of RAM
  • VMWare Fusion software installed (download it here)
  • The 3 first CD of Oracle Unbreakable Linux (availabale here, be sure to download the Enterprise Linux Release 5 Media Pack for x86 (32 bit) version)
  • Oracle 11g zip file (available here)

02. Prepare a VMWare Instance

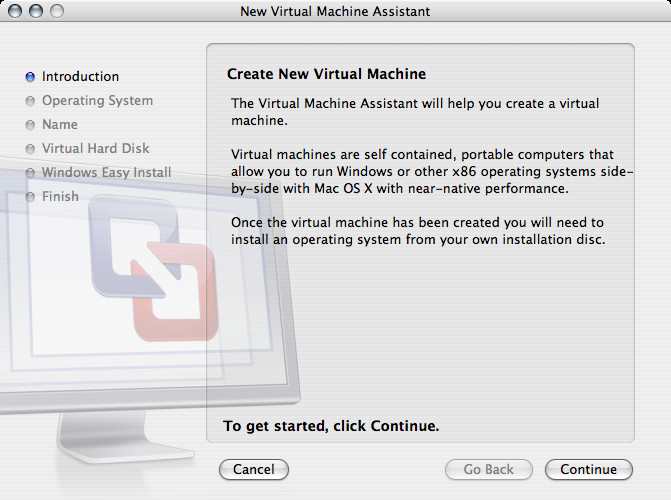
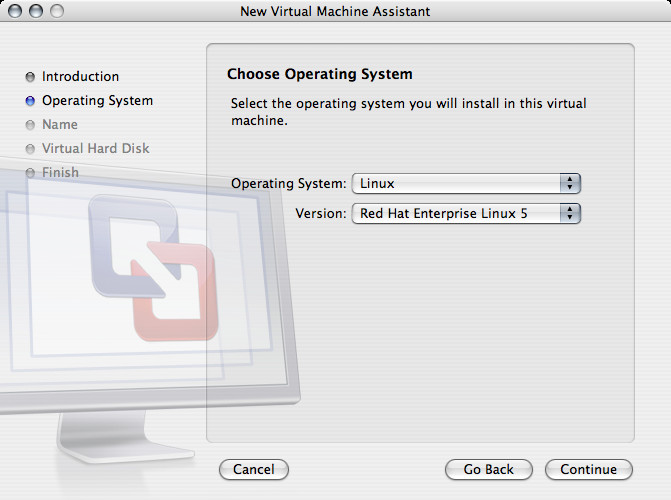
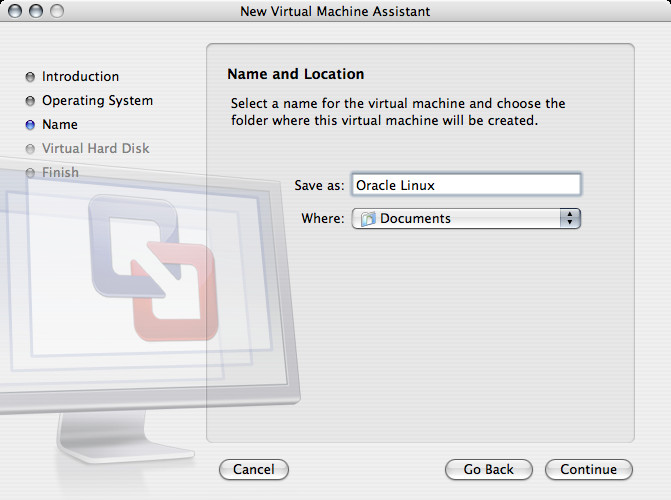
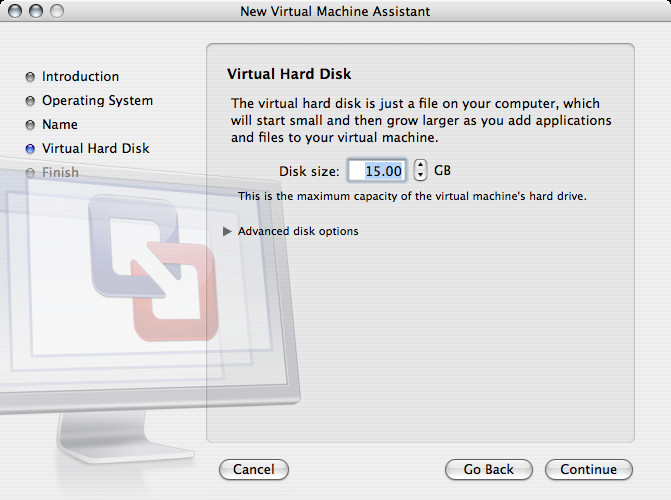
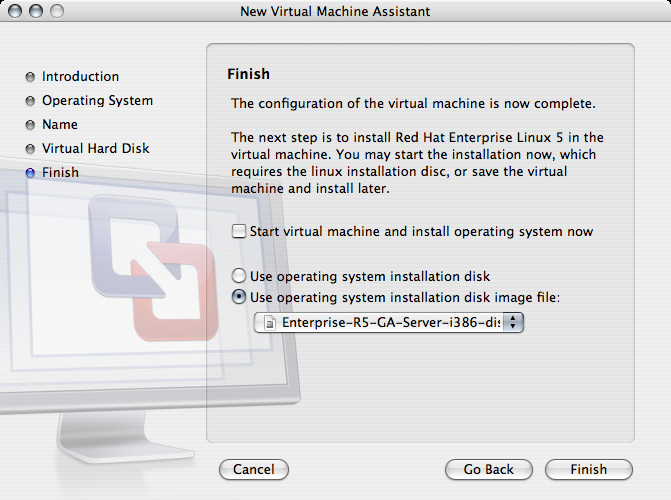
  1. Create a new virtual machine in VMWare with the same parameters as presented in the following screenshots.
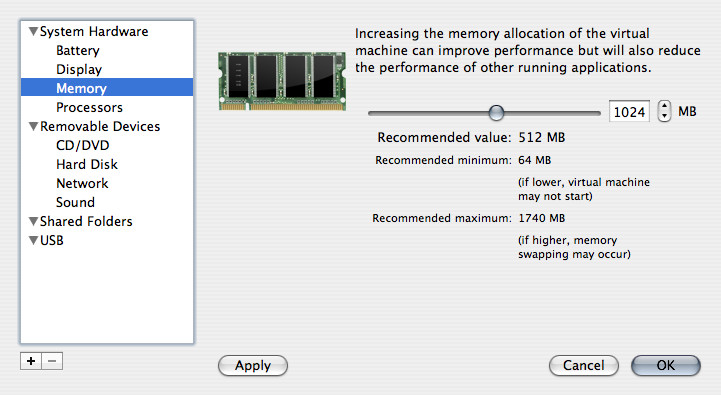
  2. Modify the virtual machine settings according to the following screenshots.
  3. Start the virtual machine.

03. Install Entreprise Linux

  1. Choose to install in graphic mode by hitting enter.
  2. Skip the CD verification.
  3. On each each install screen accept the proposed parameters (at the exception of course of the keyboard mapping where you’ll select the one coresponding to your keyboard).
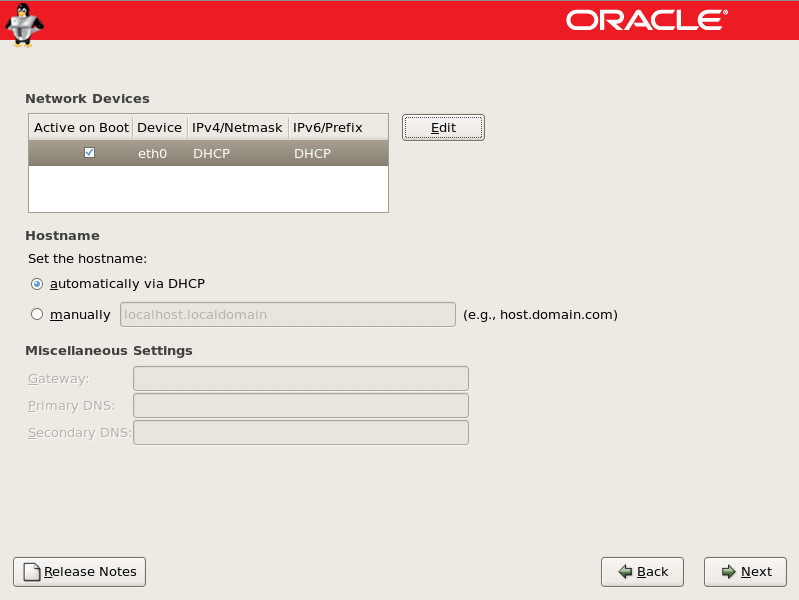
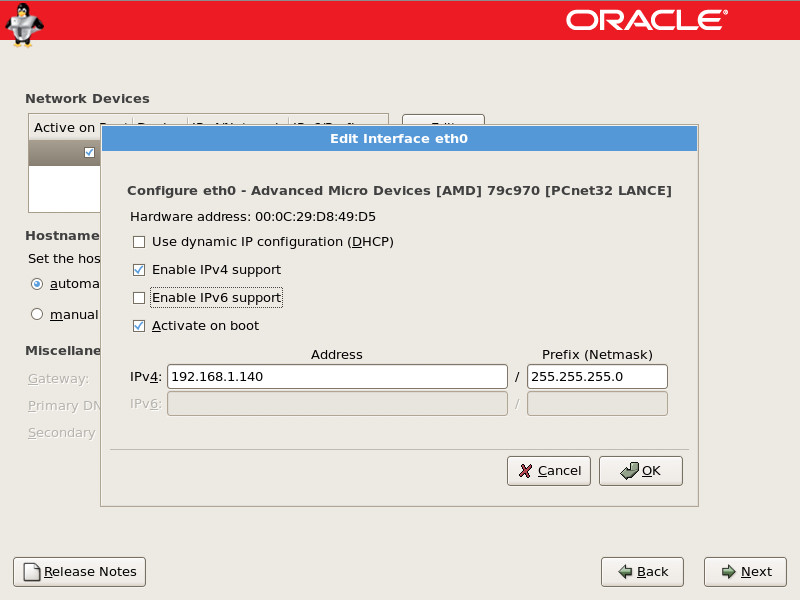
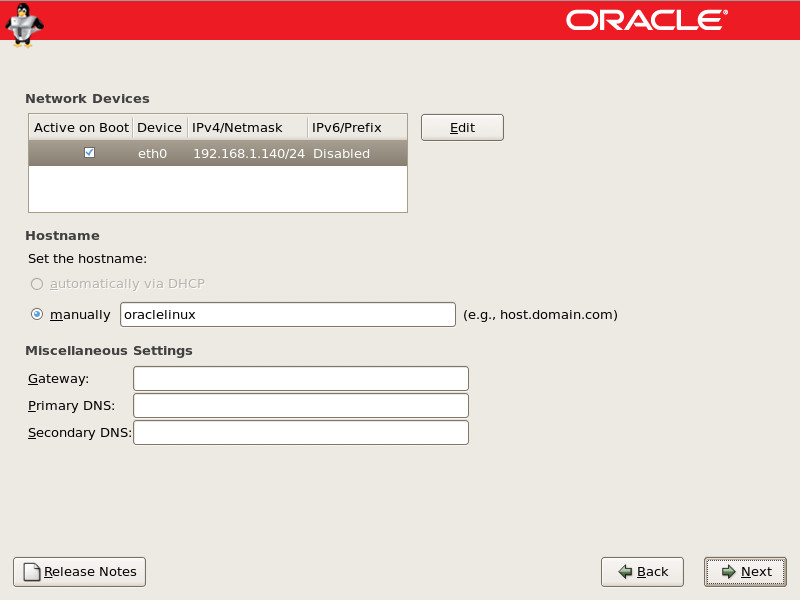
  4. [Update it seems that this step it not necessary in order to interface correctly the virtual machine with the Mac. Feel free to skip it.] Stop at the Newtork Devices Configuration screen. Proceed as follow:
    • Click the Edit button.
    • Uncheck the Use dynamic IP configuration (DHCP) checkbox.
    • Check the Enable IPv4 support checkbox.
    • Uncheck the Enable IPv6 support checkbox.
    • Enter in the Address field an meanigful address (free and reachable from your domain).
    • Fill Prefix (Netmask) field with the sub-domain.
    • Give a meaningful hostname to your installation.


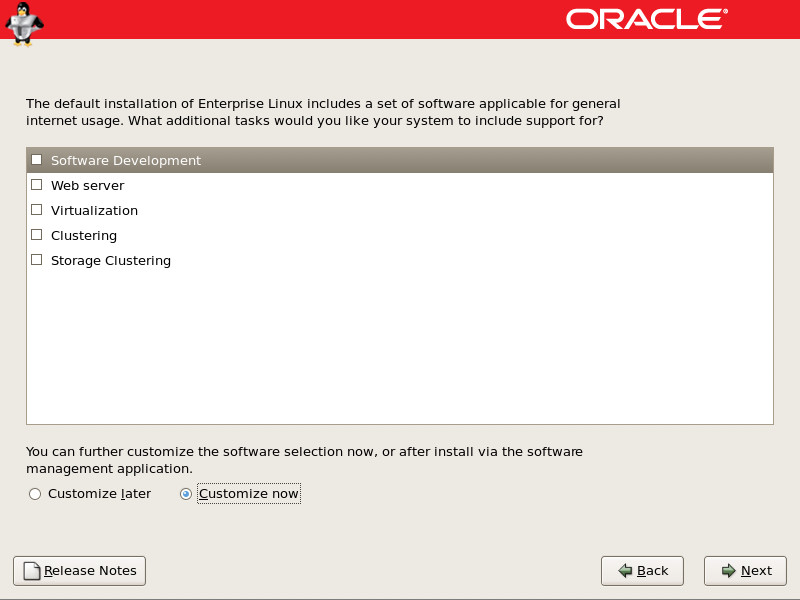
  5. Stop at the following installation screen and choose Customize now.
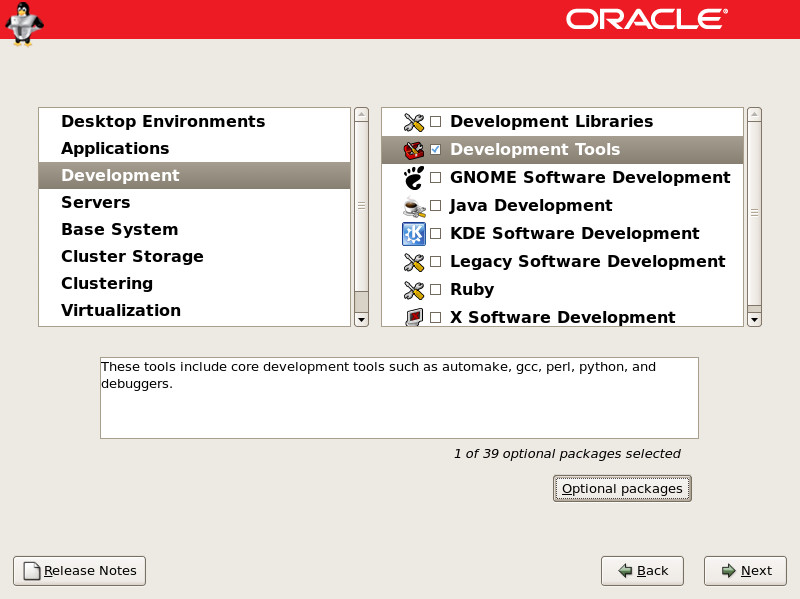
  6. In the next screen select the following packages by clicking the Optional packages button. Proceed according to the following rule: if you have to check a whole new set then check only the indicated package(s) and uncheck the others, if the set is already checked then just check the additional package(s) (such that the others are kept their previous state):
    • elfutils – 0-125-3.el5.i386 in Development, Development Tools
    • unixODBC – 2.2.11-7.1.i386 in Server, MySQL Database
    • compat-libstdc++-33 – 3.2.3-61.i386 in Base System, Legacy Software Support
    • compat-db – 4.2.52.1.i386 in Base System, Legacy Software Support
    • sysstat – 7.0.0-3.el5.i386 in Base System, System Tools
  7. Click af few more time Next and the installation begins. Just follow the instruction and change the CD when you’re asked to do so (by clicking on the CD icon and selecting the next .iso file).
  8. When asked to do so reboot.
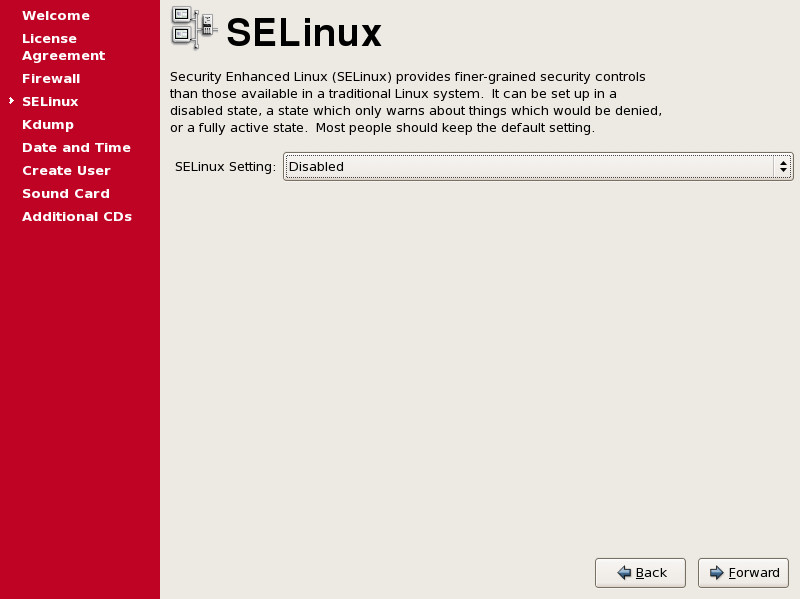
  9. After reboot click Forward till you reach the SELinux screen where you change the setting to disabled.
  10. At the Date and Time screen you can choose to synchronize your clock with an NNTP server.
  11. At the screen Create User do not create a new user (we will do so later) and get rid of the warning.
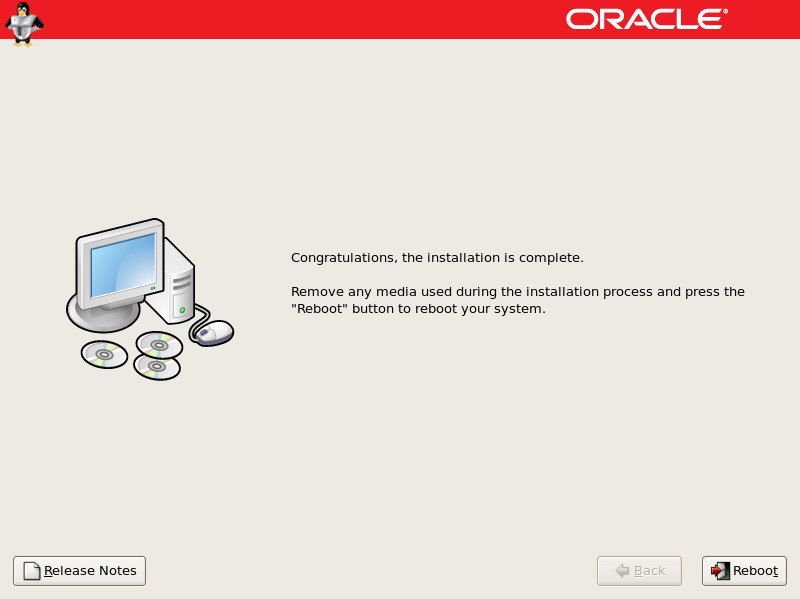
  12. Click a few more time Forward and then reboot when asked to do so.
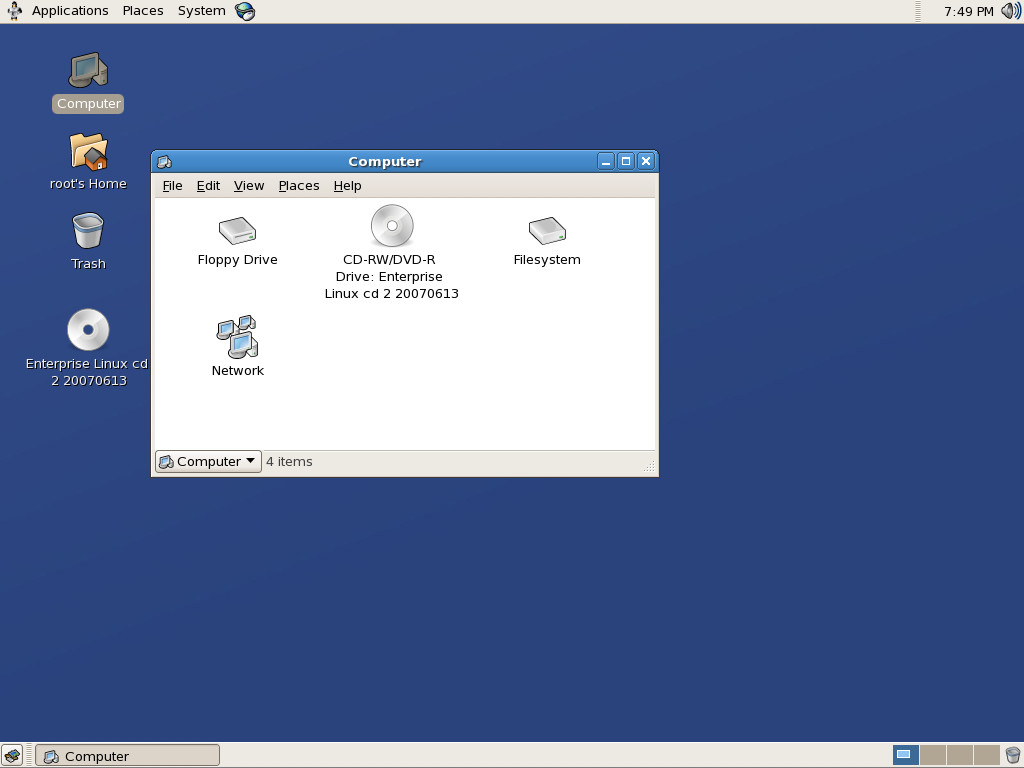
  13. Login as root and mount the .iso of the second CD.
  14. Open the Computer icon and double click the CD-RW/DVD-R Drive Icon.
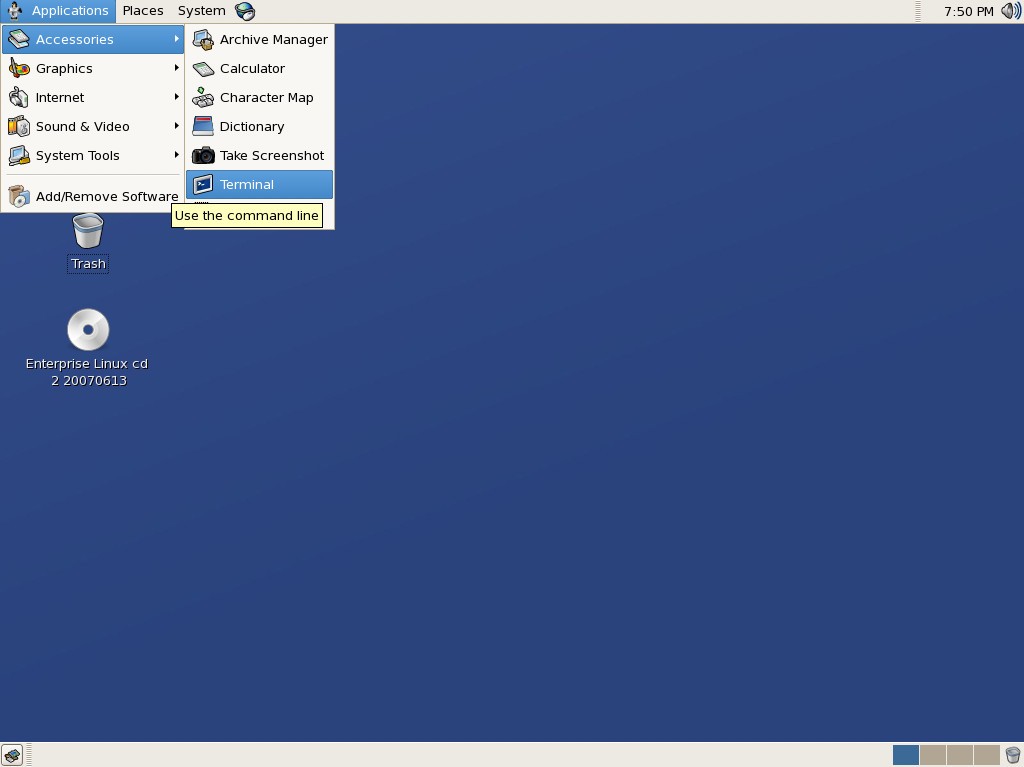
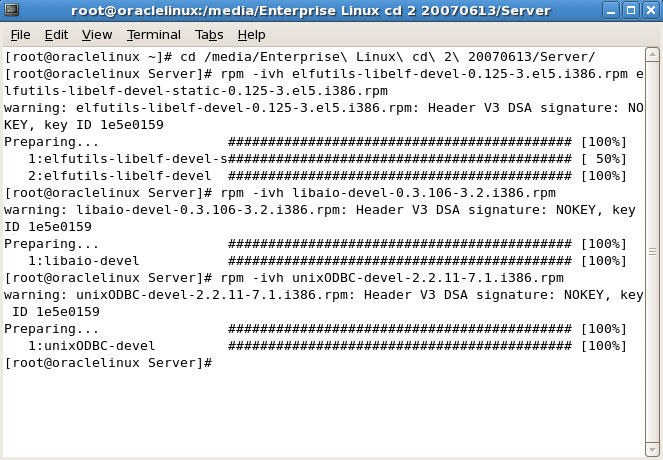
  15. Open the Terminal application and issue exactly the following commands:
  16. cd /media/Enterprise\ Linux\ cd\ 2\ 20070613/Server/
    rpm -ivh elfutils-libelf-devel-0.125-3.el5.i386.rpm
             elfutils-libelf-devel-static-0.125-3.el5.i386.rpm
    rpm -ivh libaio-devel-0.3.106-3.2.i386.rpm
    rpm -ivh unixODBC-devel-2.2.11-7.1.i386.rpm

04. Prepare the OS for database installation

  1. From this point you can follow the instruction of Ivan till Download & Install section at the exception of the first point that should be.
    groupadd dba
    useradd -g dba oracle
    passwd oracle

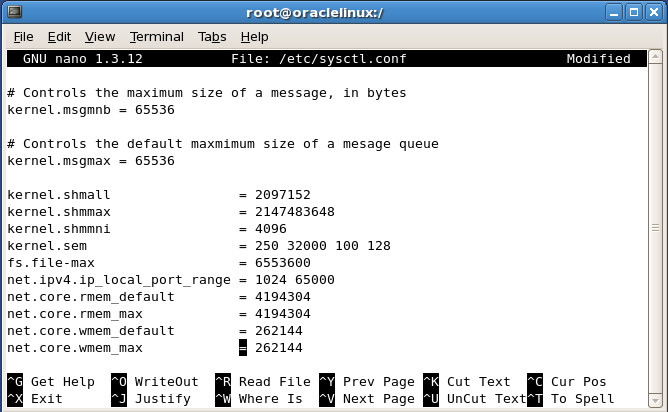
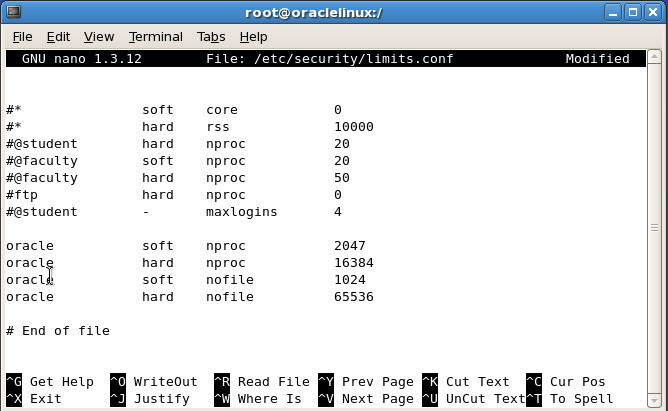
  2. When Ivan employ the term Edit, I personally recommend you to use the nano editor. With that in mind the point 2 will look like the following. The parameter kernel.shmmax and kernel.shmmni are already present in the file then just update them.

05. Install Oracle 11g Entreprise Edition

  1. Reboot the virtual machine an login as oracle user.
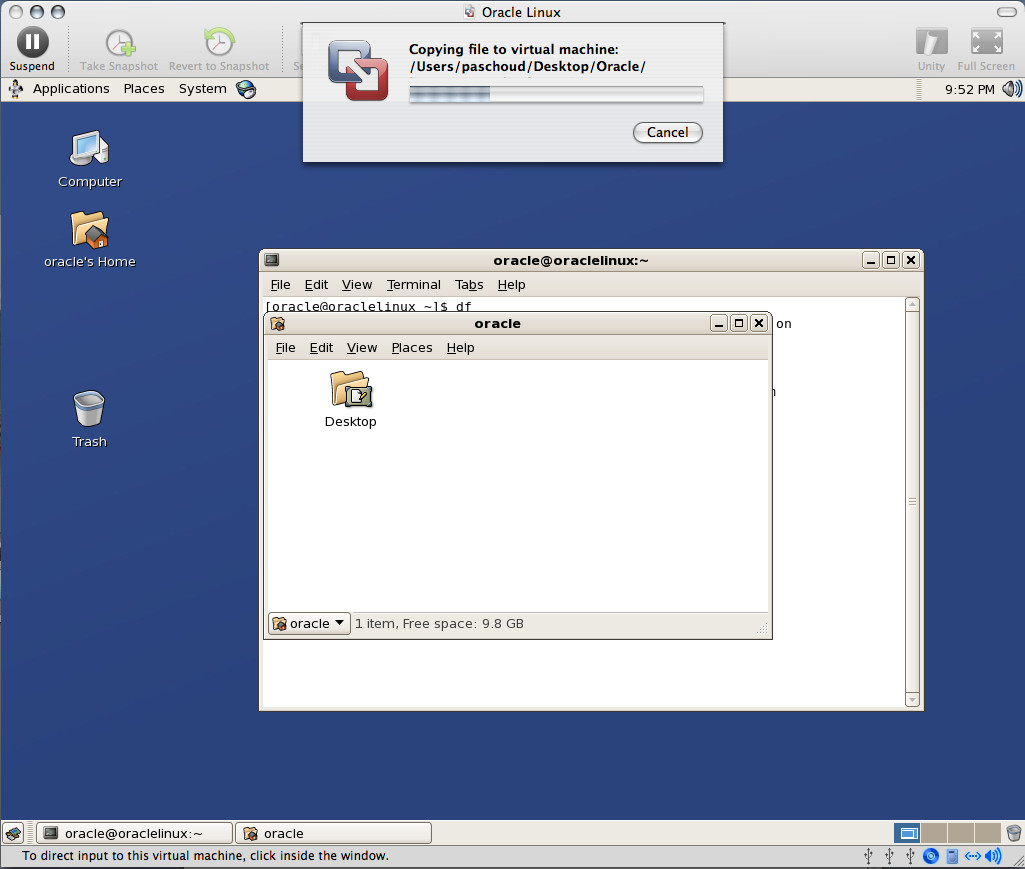
  2. Drag and drop the oracle 11g database zip file to the virtual machine desktop.
  3. Issue the following commands in the terminal:
    cd /home/oracle/Desktop
    unzip linux_11gR1_database.zip
    cd databse
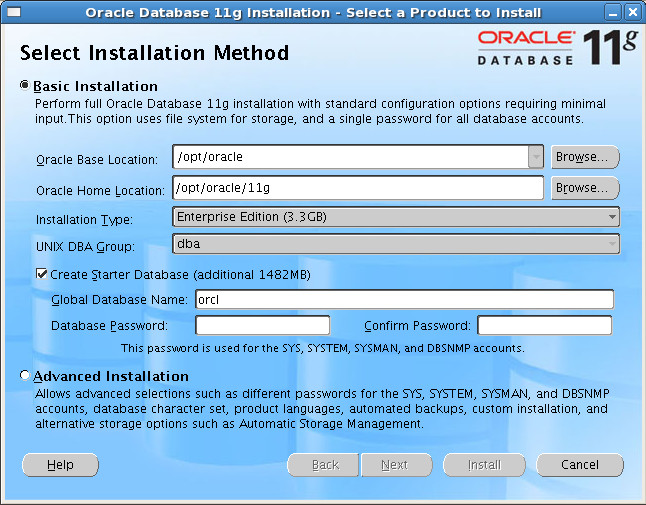
    ./runInstaller
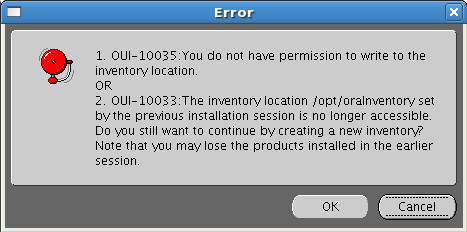
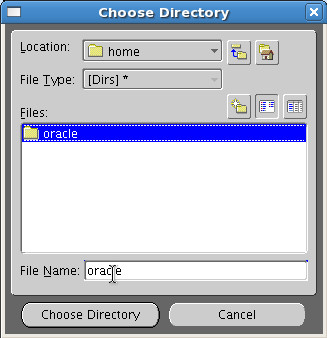
  4. When you get the following error message correct the path where you want to save the oraInventory directory. I choose /home/oracle
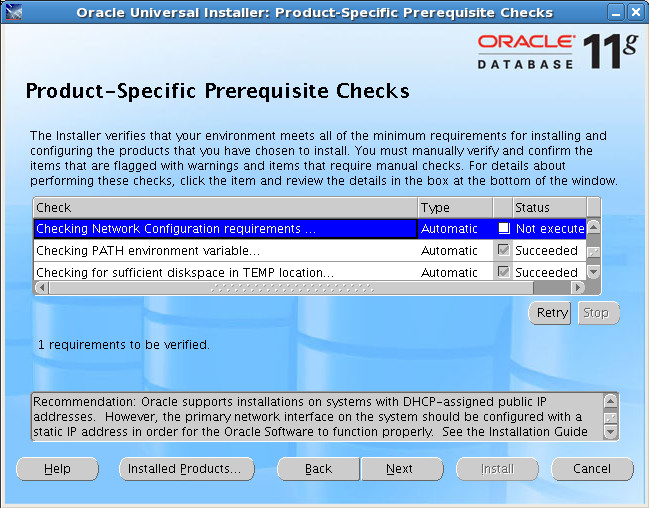
  5. When you reach the Product – Specific Prerequisite Cheks you should only have the network configuration check that do not execute. Check it by hand and then click Next.
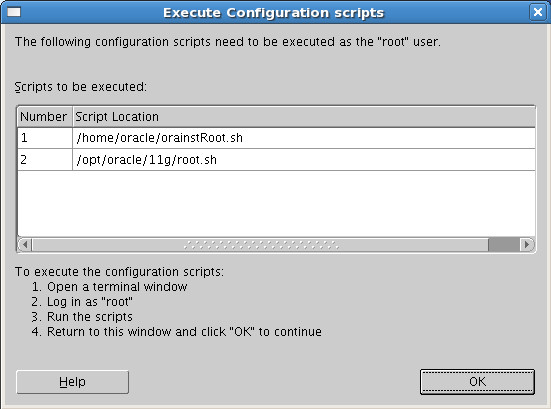
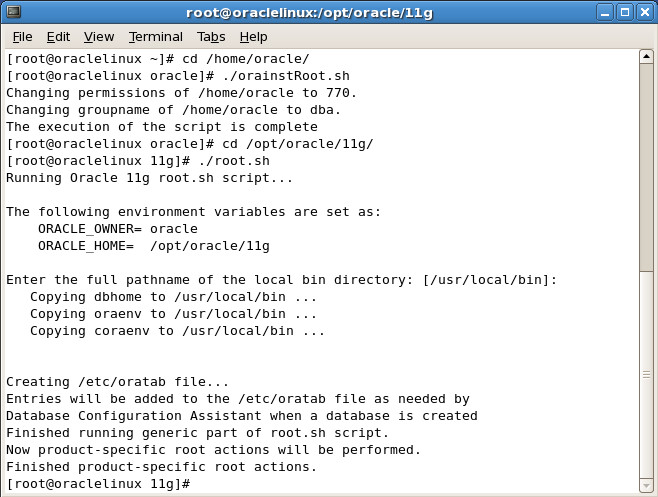
  6. Now the installation really begin. It can be a bit long but at the end a you will get a window that ask you to run two scripts in root mode.
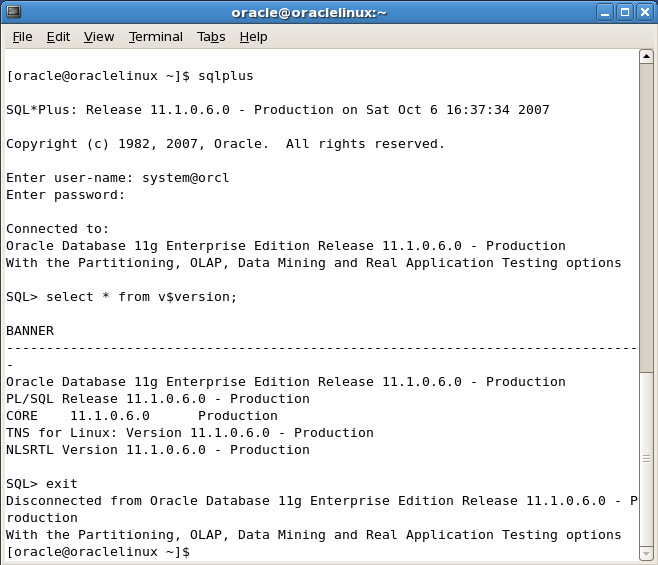
  7. Enjoy, you can finally use your 11g database.
06. Further work

You can add some spit and polish to you installation by following the instruction from Ivan in her section called Post-Installation Tasks.

In a next article I’ll show you how you can configure your virtual machine such that you can acces the database from the Mac side. That is you can hide your virtual machine and use your favorite Mac tools to connect to your database as if it was on a server.